

 Maintenance Connection Everywhere (MCe) · EAM/CMMS manuals
Preamble
This is the setup process for a wide range of AD setups to work with the Maintenance Connection LoginHub and the Maintenance Connection family of products; Accruent and Maintenance Connection Canada. Once this is setup you will be able to login to
- MC Everywhere (MCe/MCxLE)
- MCExpress
- MRO
- Technician Workstation
- the MRO report tool
- MRO's Service Requester.
Please note that authentication & authorization is a complex process that includes lots of double checks and encryption, attention must be carefully paid to each part of the process since seemingly minor things can cause decryption failures or cause a security double check to not pass. These failures often require billable support time since they end up needing to tie up some of the most technically knowledgeable in order to diagnose very tiny settings differences that are hard to identify.
This is a case of taking an extra 15 minutes to do it slow and careful will usually save hours and dollars.
Note that Azure AD (Azure Active Directory) has a very similar seeming name to AD (Active Directory) Microsoft Azure AD is a cloud focused product that is very different from Microsoft AD which is an Intranet/LAN focused product. For clarity: This document is about using LoginHub with Microsoft AD.
There are 2 types of screen shots, those from a provider and those from LoginHub. Note that YOUR AD screens will likely be different than our screen shots, but the screen shots may help you find it in your setup.
Info buttons:
When setting up in LoginHub, there are many info buttons with the most up-to-date information about that area. You should read these in the UI. To avoid information getting out of date in this document, we do not repeat most of that information in this document.
AD Setting up LoginHub to be able to Login
To get a Login, high level you need:
- To be set up with your provider
- To have appropriate LoginHub license(s) installed
- Set up the basic "what your user sees" settings
- Enter the values your provider gives you for us (Entity ID through Certificate)
- You can/should test at this point, to verify you have the basic login working
- Map what the info looks like in your provider to how you want it in MC
- You can now do detailed testing to ensure everything is set up the way you need it
After the initial setup, the most common thing to come back for is to change the Group/Role mapping as you change things in MC and/or in your identity provider.
License
Your installer should provide you with a License, installing a license is not covered in this document.
When you have a license properly installed the "No licenses Installed" warning will go away.
General Provider Settings
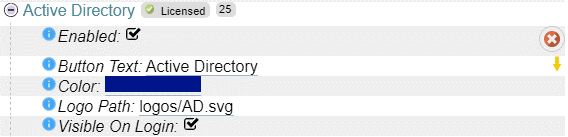
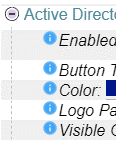
When you are ready to test or use, select "Enabled"
As in the screen shot above, by default the login button "Button Text" your users will see will say "Active Directory" and show the included Logo Path AD Logo. Depending on how your users see it elsewhere in your system you may want to change that text to your provider, perhaps they expect. The key is that you want the Button Text and Logo to be something that means something to your users.
Auto-Provision Settings
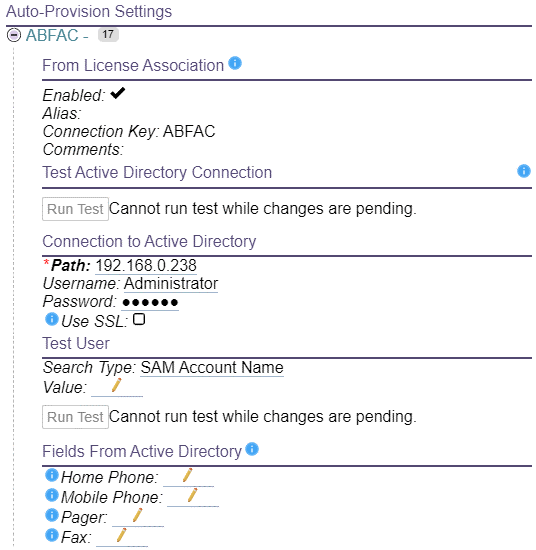
Enter the values that allow connecting to the Active Directory domain server, user/password that allows querying users (anonymous querying is off by default on most directories) and select if the connection to the directory server should use SSL (this requires that a SSL certificate has been setup on the domain server for it to work).
Once the connection information has been set and saved. You can run a connection test. The connection test is required since it finishes the setup by retrieving required domain information that makes logins actually work.
Fill in additional fields (Home Phone, Mobile Phone, etc..,) if those fields have entries in Active Directory and the data is required inside Maintenance Connection.
Provider Group/Role Mapping
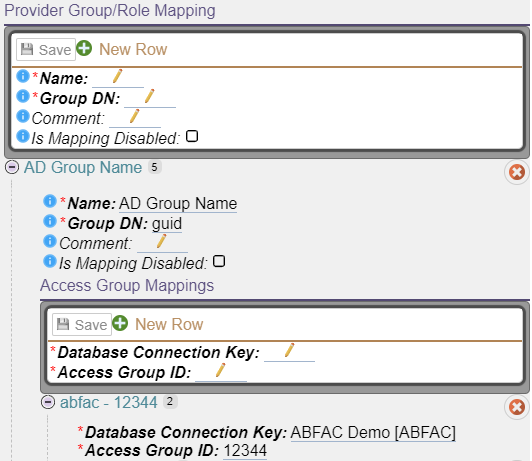
Each Active Directory group will map to a Maintenance Connection Access Group in a 1 to 1 configuration. A user in Maintenance Connection is restricted to have only 1 Access Group assigned which means that users with multiple mapped groups in Active Directory will be unreliably mapped. There is additional configuration available to make the mapping more reliable, but officially 1 Active Directory group/role per user is supported, with a second one being a supported option for cases where you have an "All" and an optional "specific" mapping. More than that may run into issues with login performance or unreliable mappings (this is corrected by bringing the mappings in Active Directory to the supported number of 1 or with conditions, 2).
Final Mapping
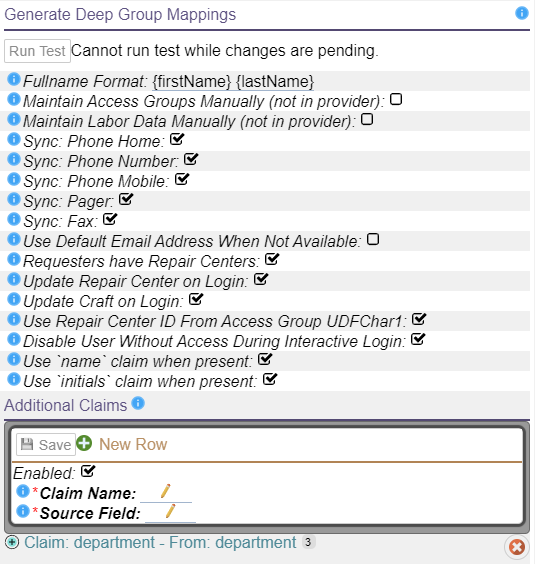
Individual details about each setting can be read in the included Info button.
The "shape" of the data in your identity provider is very unlikely to be the same as in MC. These settings let you map the data in the ID provider to the values stored in MC.
If you are thinking "Why can't MC have it the same as my provider" or "Why can't my provider just have it the same as MC" … the problem, if you want to call it a problem, is that every provider does things and keeps things a little bit different, and every package they let you log into keep data a little different.
With some software they will hard code it for a small number of providers and then force you to use the ID provider exactly the way they defined it, or their use of the ID provider may be so simple that the only thing they are providing is the SSO feature. The LoginHub opens up the options for MC to literally 1000's of ID providers and lets you manage your users and security from the ID side.
These settings provide you with a lot of the value that LoginHub brings to MC and your Identity provider.