Maintenance Connection Everywhere (MCe) · EAM/CMMS manuals
Preamble, Upgrade LoginHub first
If you are looking at doing both LoginHub and MRO upgrades, We strongly recommend you upgrade LoginHub before upgrading Accruent's MRO. This does not have to be done days ahead, just enough for you to test that the new LoginHub is working when all you have changed is the LoginHub, if all goes well, minutes before. Then the MRO upgrade is also easier to upgrade and test its upgrade. This helps you isolate any problems you run into.
- If you are running on a working MRO and you upgrade LoginHub, and it fails, then something went wrong in the LoginHub upgrade.
- If you then upgrade MRO and it fails, then something went wrong in the MRO upgrade.
The key is that LoginHub is always backward compatible to older versions of MRO, but MRO is often not backwards compatible to older versions of LoginHub. This is because many LoginHub upgrades are 'because' MRO has done something to make itself incompatible. So if you upgrade MRO first you can't test until you upgrade LoginHub, and if you then have a problem – which side do you look to first to determine the problem?
Upgrade process
- Download and run the LoginHub 10 installer to unpack into a local directory
- The Wizard will automatically start to run. Follow through. If you accidentally closed it, you can manually run it from the preReq directory config.bat
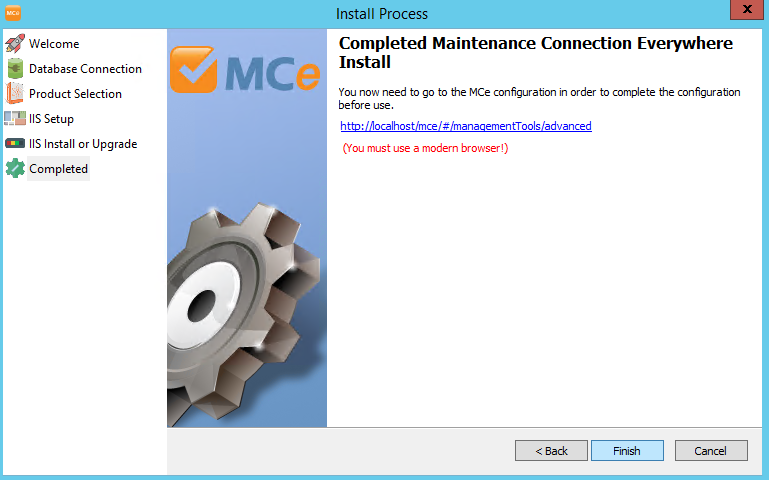
- Last page of the wizard has a link to open the settings URL in an up-to-date modern browser (Chrome, Brave, Edge) But note that it might open in a older browser such as IE depending on your server configuration settings.
- This step must be run in a modern browser and locally on the server. If either are not possible (or load balancing, SSL offloading, proxies, etc.., are preventing actual local access) the initial configuration steps will require manual entry of settings into a config file (this will require 2 hours of billable support time).
- Open /mc_web/onsite/loginHub
- Double click the "LoginHub" text in order to redirect over to the diagnostics and configuration pages.
- Drag & Drop the mc.ini to the UI element for quick setup
- This will perform a registration database upgrade. If the mczar SQL account does not have enough permissions to perform this upgrade there are additional steps required in the Appendix
- Drag & Drop the LoginHubService.exe.config to the UI element for quick setup
- Review settings AND RUN TESTS IN THE SETTINGS, the running tests does more than just 'test' – it sets things up that finds in-correct and first time in, there will definitely be some values it needs to set you.
- Before MRO can run with LoginHub: Decompress the mc_pages.zip from /preReq into the mc_web install directory (this will redirect users to the LoginHub login pages)
- *Note* if a MC upgrade happens (including v2021+ ) this pages step needs to be repeated. v2021 makes login without the pages slightly smoother, but there are several usability issues that are directly fixed by extracting the pages on each upgrade.
- Test
Notes
Changes & Permission differences
Due to LoginHub running in a different application pool & not running as a service there are many permission differences. You need to run the test connection procedure for each license connection to ensure it correctly connects and initializes configuration to enable proper login.
License Enforcement differences
Licensing for LoginHub was changed in 2019. Several features were extracted as separate addon licenses in order to provide a lower cost option for customers. Customers who purchased a license prior to October 19, 2019 are eligible for a free (SMA will change) upgrade to enable Direct Login and/or Scripting Engine.
If you are running load balancing, SSL offloading, or proxies you will also need to have a Load Balancing license installed to unlock settings and features to make load balanced or SSL offloading use possible.
Databases on a system with LoginHub require a license association present to be able to login to the database. If a database shows up as not selectable during login (and there is a license warning) you may need to add more licenses to ensure that database is licensed.
"My user is in Active Directory, but not in Maintenance Connection!"
That is normal until the first time the user logs in. See Auto-Provisioning below.
User Auto-Provision
LoginHub now automatically provisions users when they login. This means that user is created in the Maintenance Connection database on the first login of the user. This also means that if the user's settings, attributes or permissions change in the middle of a workday the user will be automatically updated with their new details on the next login.
MC Account security
For security it is now required to login with the provider your user account was created for. This means that, for example, Active Directory accounts can no longer be backdoor logged into by forcing a password into the database and using a MC Account login. An invalid login attempt will be logged and the user will be told that the username or password is incorrect.
Testing
The recommended minimum testing is:
- Run each test button in the system settings
- Test login with MC Account
- Test login with the provider you have licensed (e.g. Active Directory)
Framework
LoginHub v8.9 and below used .NET Framework 4.8 (or lower depending on exact version). LoginHub v10 now runs a self-contained build of .NET Core 3.1 (and will upgrade as required). This means that you will no longer need to manually install .NET Framework versions as part of the install or upgrade process. Occasionally new versions of the .NET Core IIS Module will be released by Microsoft with fixes and those will be included into the /preReq directory in order to simplify installation for customers.
Sync Service
With auto provision, the sync service is now optional. If you already have the sync service and no settings are changed, you can continue to use it if you wish. If you wish to continue using the old sync service and you make configuration changes, we will provide Support Services (on an hourly basis) for this.
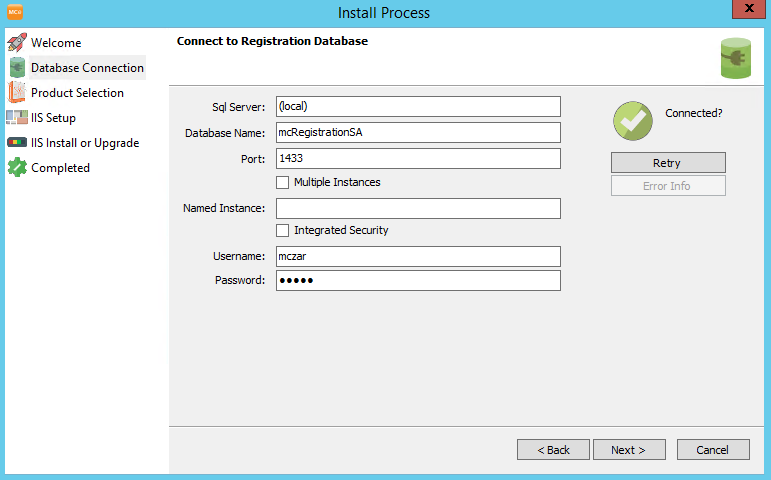
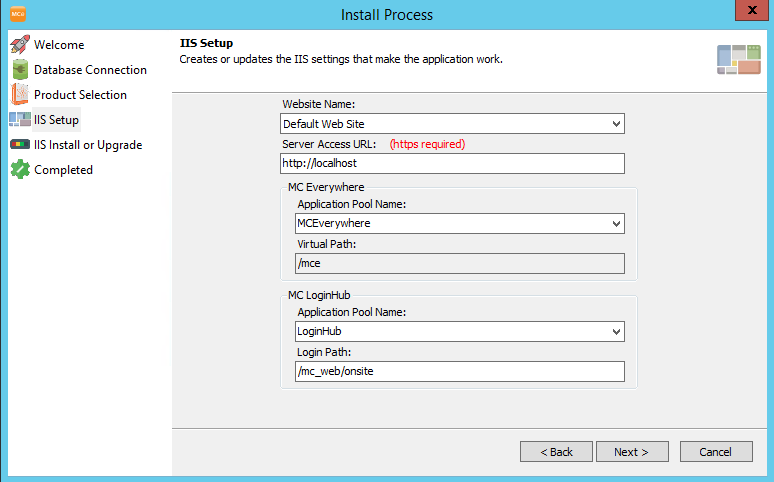
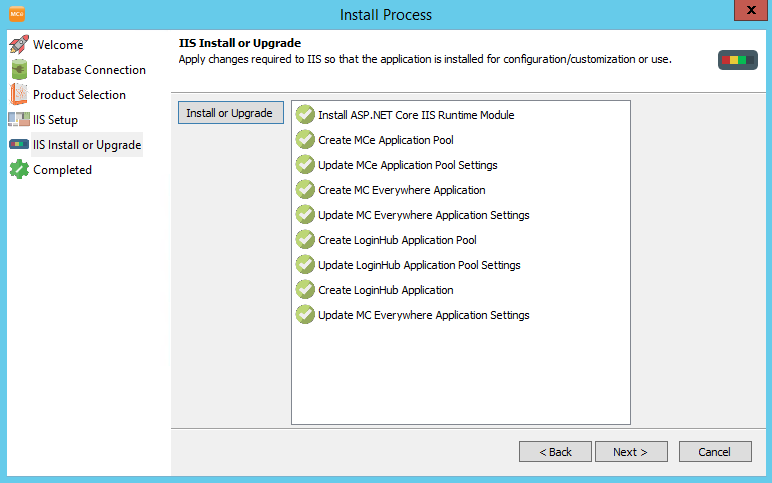
Wizard Screen Shots for reference