Maintenance Connection Everywhere (MCe) · EAM/CMMS manuals
How to create a basic PM and have it run based on a meter reading?
Overview:
This guide explains how to configure an automation that generates Work Orders based on a meter-trigger schedule (e.g., usage, hours of use, kilometrage/mileage, inches, cm, feet, meters, links etc..,) using the Automations menu (which includes PM, PdM, and more).
STEP 1: Go to Automations (PMs+) Module. Click New PM.
How to go to automations & new PM

STEP 2: Enter the basic PM details
How to enter basic PM details
- ID (Depending on your system configuration, the ID may be hidden or generated automatically.)

- Name

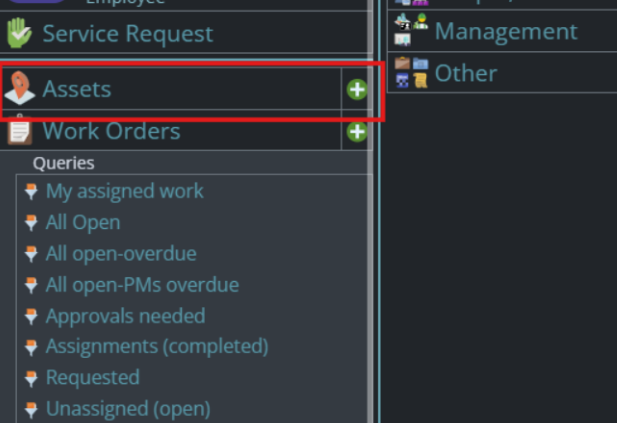
- Asset
Navigate to the Asset tab to add an asset.

Click the green circle with plus (+) sign button to add a new asset.

Click the three-dot button to select an asset.

Click the green circle with plus (+) button to select a child asset. The list displays the available parent assets. Scroll through the list and select the desired child asset.

Upon clicking the asset, the child assets under the parent asset Calgary are displayed.

In this example, I selected Edmonton, specifically [EDM - Coast Terrace Inn], as my asset.


STEP 3: Scroll to the Trigger or Schedule Section
Select “Meter Trigger”.
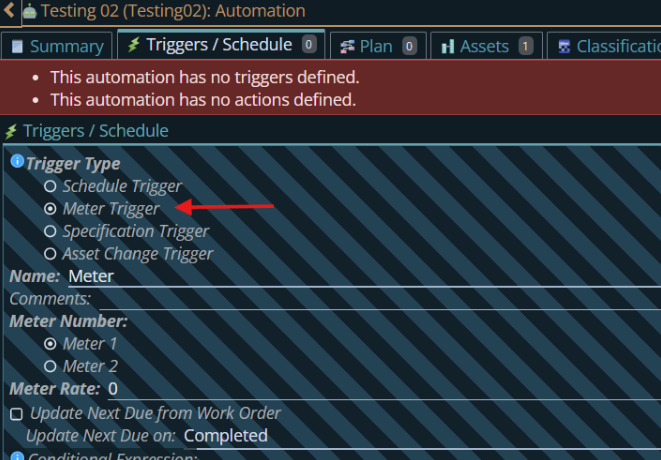
STEP 4: Set Meter Triggers
Each asset can have up to two meters that track measurable values, such as usage, hours of operation, mileage, electricity consumption, fuel usage, or other units of measurement. A meter-triggered PM generates a Work Order when the selected meter reaches the configured interval.
Meter 1 The primary meter used to trigger the PM. When selected, the PM is triggered based on the configured Meter Rate.
Meter 2: An optional secondary meter that can also be used for tracking usage.
Meter Rate: Defines how much the selected meter must increase before the PM is triggered. For example, if the Meter Rate is 100, the PM will trigger every time the meter increases by 100 units (such as 100 hours or 100 kilometers).

Notice that, like in the entire system, when you create a new child item such as the meter above, the striped background shows it is still pending. When you click on the save?The save button used in millions of applications is an image of a floppy disk where we saved files in the 1970's through 90's (2020's in Japan), it became the de facto save button for that reason. button it is made a 'real', not pending, record.

STEP 5: Add Plan Action
Go to the Plans / Actions tab of the PM.

Click the Add New Action button.

Choose the action type:
- Create Work Order – the PM will automatically generate a Work Order when triggered. It will ask you to specify the procedure.
- Run Event – the PM triggers a configured Event instead of creating a Work Order. Events are system-defined actions created and managed in the Automations/Event setup area.
- Do Nothing – the PM will record the trigger but won’t generate anything. It will not ask for anything more because it isn't going to do anything. See here for more information on the Do Nothing action type
Save the action.


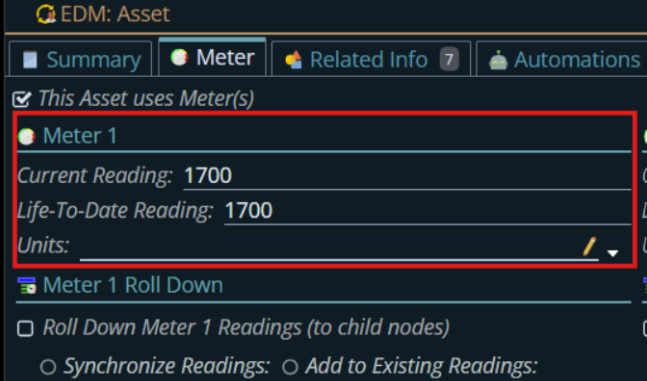
STEP 6: Update Meter Reading
Go to the Asset section and select the asset (e.g., Edmonton). Select the Meter for that asset. Check the Current Rating and the Life-to-Date Rating.

Add the Meter Rate you set on the trigger to the current rating.
Example: Current rating = 1600, Meter Rate = 100
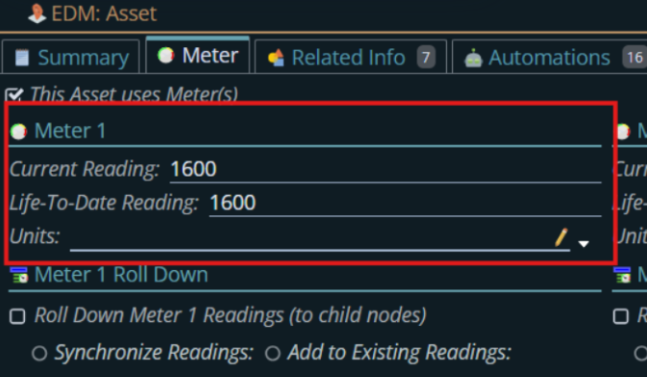
New rating = 1700.
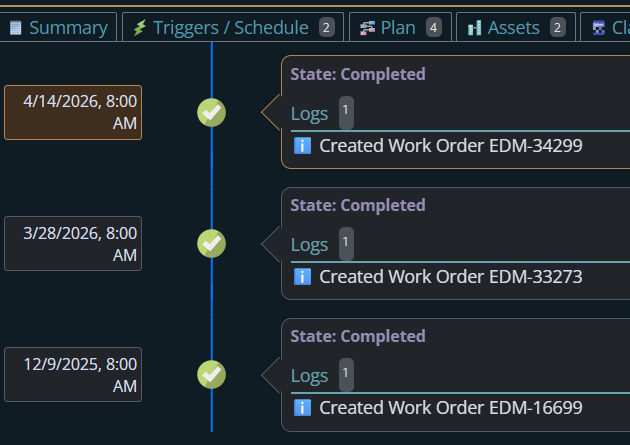
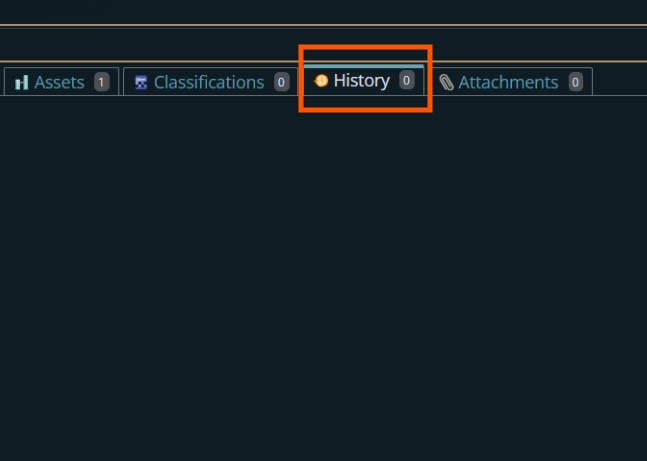
STEP 7: Monitor Meter-Triggered PMs:
Go to the PM History section. Look for PMs generated by meter readings. Review the meter values and corresponding Work Orders to track usage and maintenance.
History (Before)
History (After)