
 Maintenance Connection Everywhere (MCe) · EAM/CMMS manuals
How to create a basic PM and have it run on a schedule?
Overview:
This guide explains how to configure an automated process that generates Work Orders based on a time schedule using the Automations menu (which includes PM, PdM, and more).
Getting toAutomations and entering basic PM details
STEP 1: Go to Automations (PMs+) Module. Click New PM.
How to go to automations & new PM
Start by clicking on the main menu button on the left panel, top left portion.
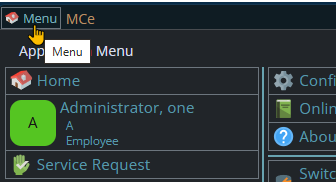
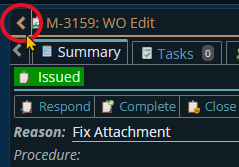
If the menu button isn't visible, you are likely on a screen too narrow to see everything, press on the left pointing gold button to take you so you can see the menu button.
Variation 1: What you have access to
Depending on the size of your screen, what products your company has purchased and what rights you have been granted, the choices in the menu will vary.
Variation 2: How wide your window is
The menu will show up as 1, 2 or 3 columns depending on how wide your screen is.
If you are on a cell phone, and some smaller tablets in portrait mode or a narrow window on a laptop or desktop, you'll see the menu as one column that you scroll through using your finger or the scroll wheel or the scroll bar depending on your device, browser and whether you have a touch screen or not.
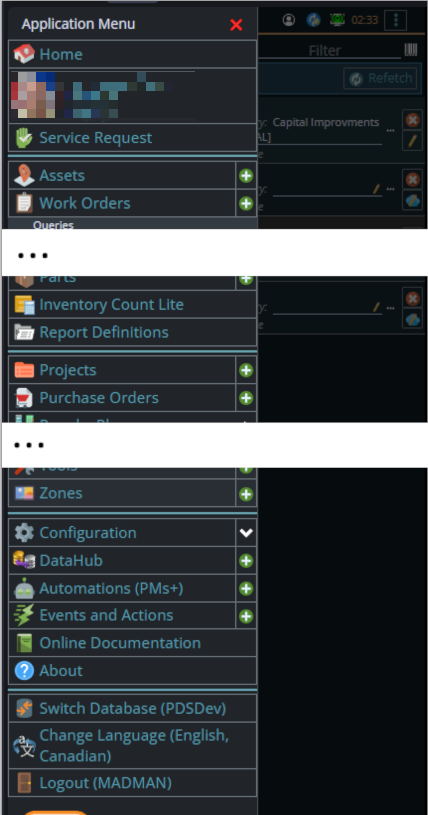
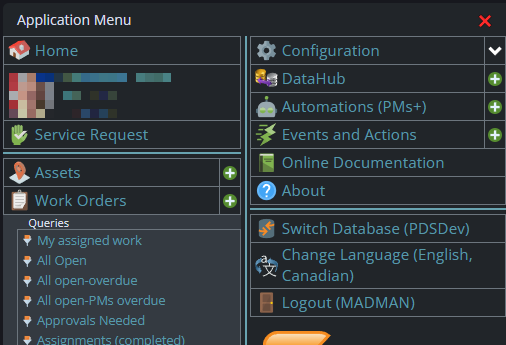
A bit wider, some cell phones in landscape, some tablets in portrait, most tablets in landscape and 'somewhat' wider laptop/desktop, will show it as 2 columns wide, with the middle column available on the left by scrolling down
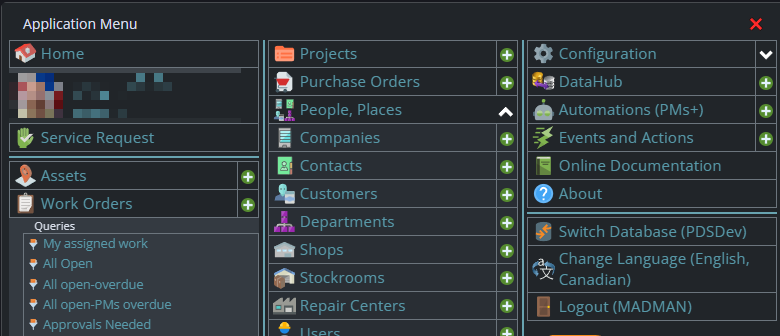
And wider screens, some landscape tablets, and wider windows on a laptop or desktop show it as 3 columns. If you have all the dropdown sections expanded, it may still require vertical scrolling to see all the choices depending on the height of your device or window.
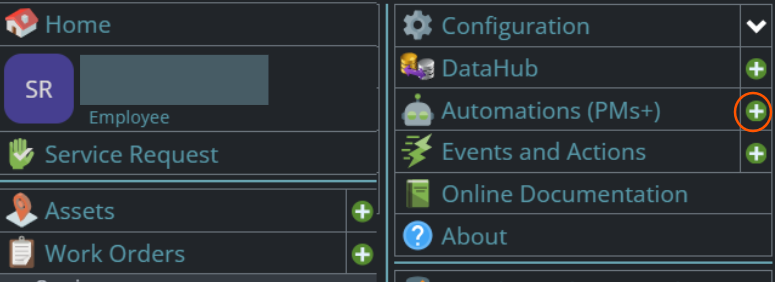
STEP 2: Enter the basic PM details
How to enter basic PM details
- ID (Depending on your system configuration, the ID may be hidden or generated automatically.)
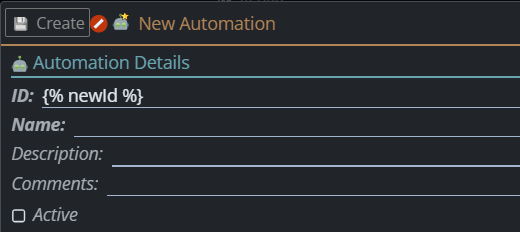
- Name
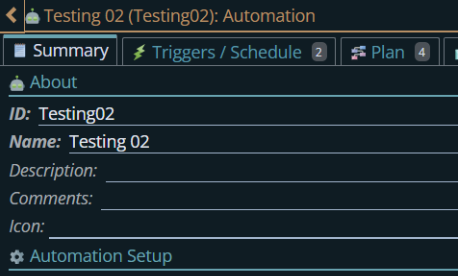
- Asset
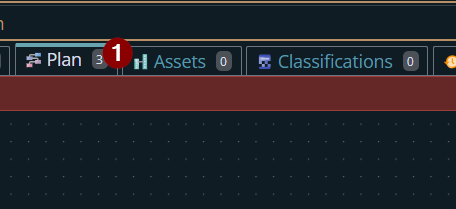
Navigate to the Asset tab to add an asset.
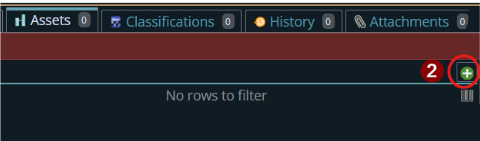
Click the green circle with plus (+) sign button to add a new asset.
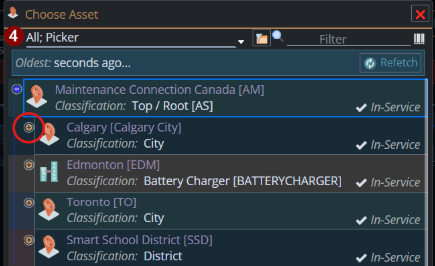
Click the three-dot button to select an asset.

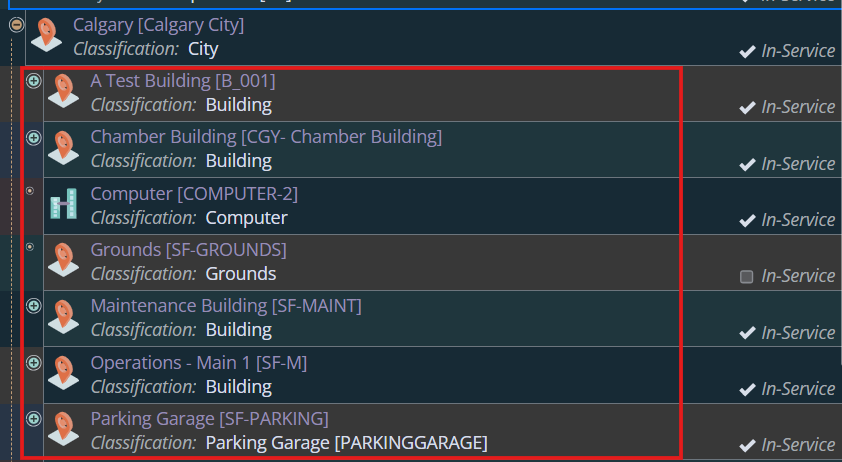
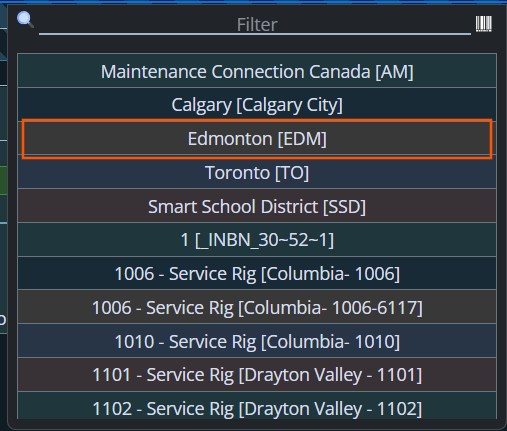
Click the green circle with plus (+) button to select a child asset. The list displays the available parent assets. Scroll through the list and select the desired child asset.
Upon clicking the asset, the child assets under the parent asset Calgary are displayed.
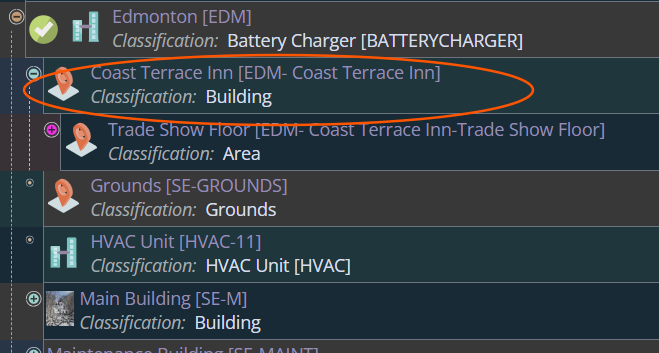
In this example, I selected Edmonton, specifically [EDM - Coast Terrace Inn], as my asset.
STEP 3: Scroll to the Trigger or Schedule Section
Select 'Schedule Trigger'.
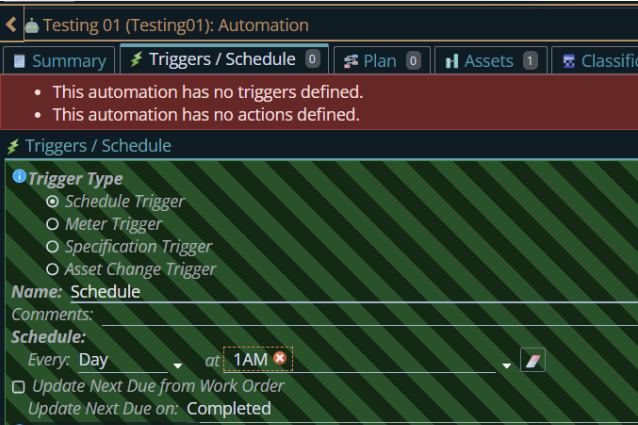
STEP 4: Choose the frequency:
- Daily - Weekly - Monthly - Yearly
In this section, I selected "Every Day" and configured the trigger to run at 1:00 A.M., 2:00 A.M., 3:00 A.M., and 4:00 A.M.
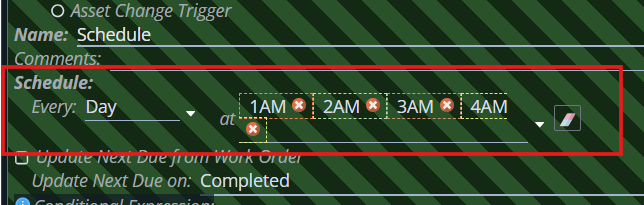
Notice that, like in the entire system, when you create a new child item such as the meter above, the striped background shows it is still pending. When you click on the save?The save button used in millions of applications is an image of a floppy disk where we saved files in the 1970's through 90's (2020's in Japan), it became the de facto save button for that reason. button it is made a 'real', not pending, record.

STEP 5: Add Plan of Action
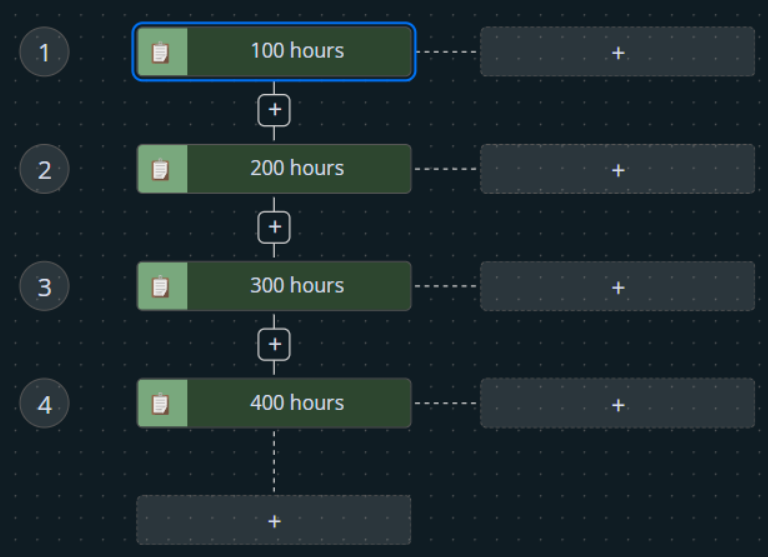
Go to the Plans / Actions tab of the PM.
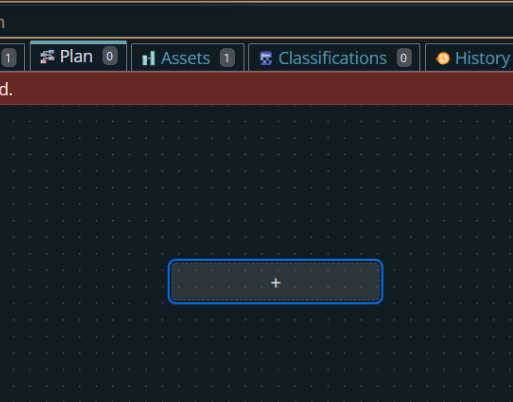
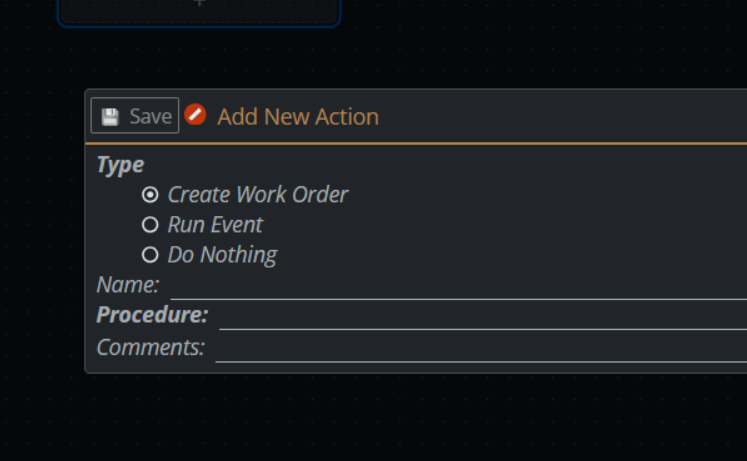
Click the Add New Action button.
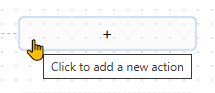
Choose the action type:
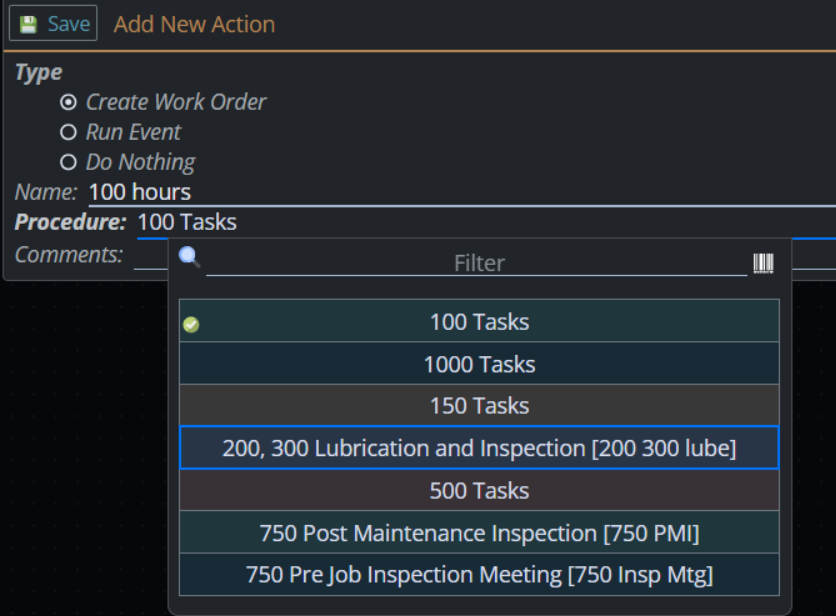
- Create Work Order – the PM will automatically generate a Work Order when triggered. It will ask you to specify the procedure.
- Run Event – the PM triggers a configured Event instead of creating a Work Order. Events are system-defined actions created and managed in the Automations/Event setup area.
- Do Nothing – the PM will record the trigger but won’t generate anything. It will not ask for anything more because it isn't going to do anything. See here for more information on the Do Nothing action typeSave the action.
Step 6: Monitor The PM History
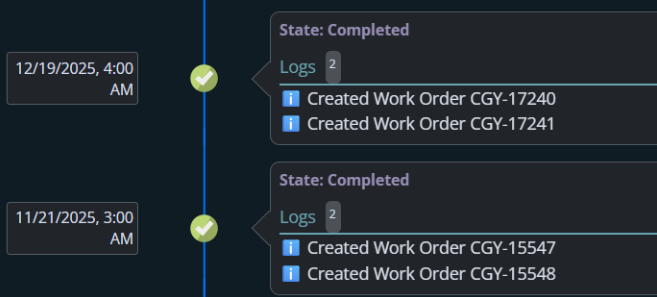
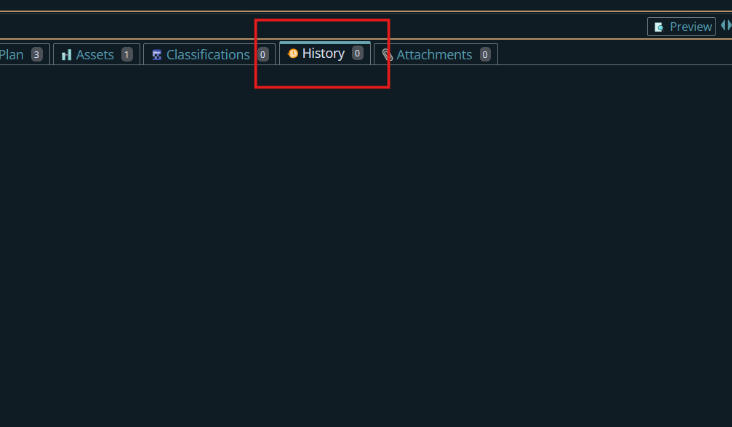
Since the PM is scheduled to run at 1:00 A.M., 2:00 A.M., 3:00 A.M., and 4:00 A.M., you could verify if it executed correctly by checking the History section.
Go to the History tab of PM.
Look for log entries showing each scheduled run time.
Confirm that:
- The PM triggered at the correct hour.
- A Work Order or Event was created (depending on the action selected).
If no entries appear, the PM did not run — recheck the schedule, activation status, or settings.
History (Before)
History (After)