
 Maintenance Connection Everywhere (MCe) · EAM/CMMS manuals
1. You can find UI Configuration under Access Manager.
Getting to UI Config
Start by clicking on the main menu button on the left panel, top left portion.
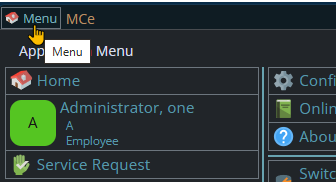
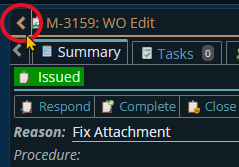
If the menu button isn't visible, you are likely on a screen too narrow to see everything, press on the left pointing gold button to take you so you can see the menu button.
Variation 1: What you have access to
Depending on the size of your screen, what products your company has purchased and what rights you have been granted, the choices in the menu will vary.
Variation 2: How wide your window is
The menu will show up as 1, 2 or 3 columns depending on how wide your screen is.
If you are on a cell phone, and some smaller tablets in portrait mode or a narrow window on a laptop or desktop, you'll see the menu as one column that you scroll through using your finger or the scroll wheel or the scroll bar depending on your device, browser and whether you have a touch screen or not.
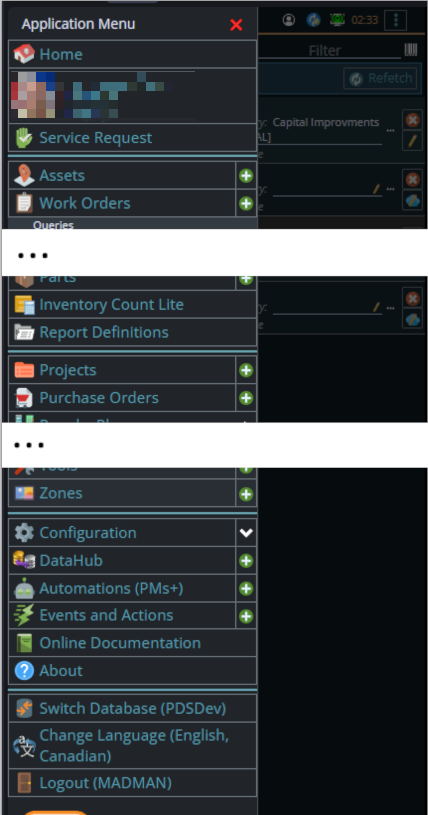
A bit wider, some cell phones in landscape, some tablets in portrait, most tablets in landscape and 'somewhat' wider laptop/desktop, will show it as 2 columns wide, with the middle column available on the left by scrolling down
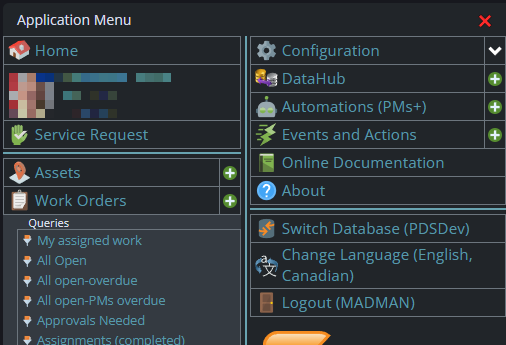
And wider screens, some landscape tablets, and wider windows on a laptop or desktop show it as 3 columns. If you have all the dropdown sections expanded, it may still require vertical scrolling to see all the choices depending on the height of your device or window.
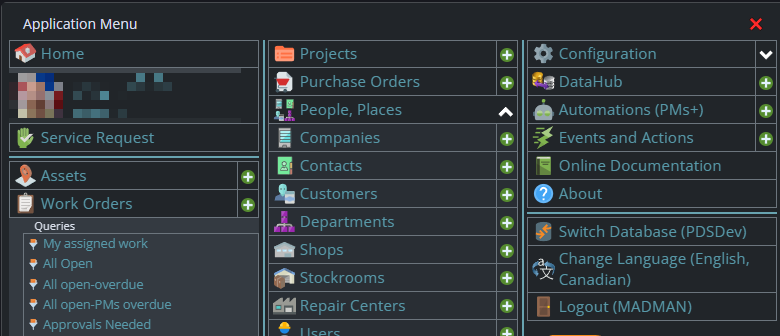
You can then proceed to clicking the expand/collapse toggles in the following order:
Work Order > Edit Page > Summary > Details > [details-columns] > [details-column-2] > Priority.

2. Click Style: Edit, and a pop-up will appear, where you can put the script to implement your preferred configuration.

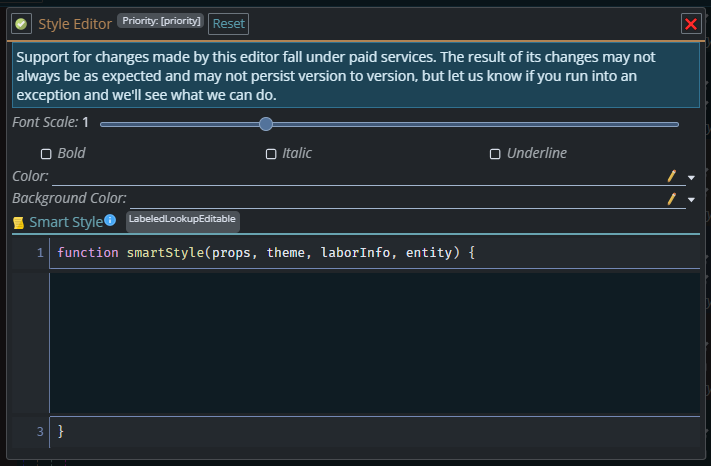
3. In the Smart Style section of the pop-up, paste in the script for the styling behavior you want:
a. Style Priority based on Priority's own value (e.g., red for High, purple + bold for Immediate):
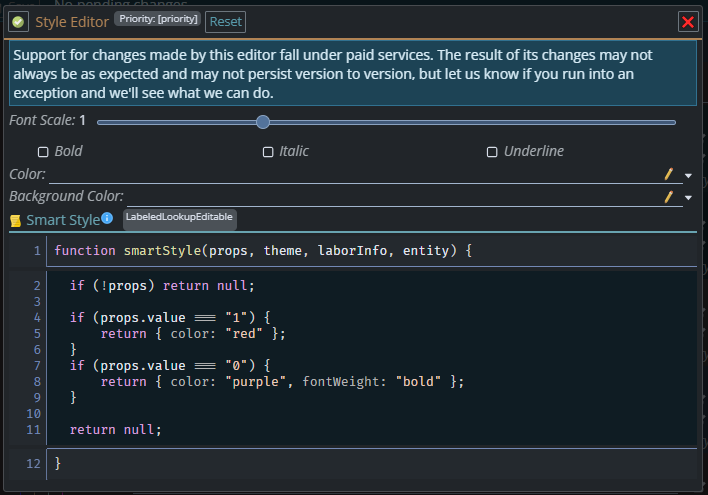
if (!props) return null;

if (props.value === "1") {
    return { color: "red" };
}
if (props.value === "0") {
    return { color: "purple", fontWeight: "bold" };
}

return null;props.valueis the Priority field's own current value, since this code sits inside Priority's Style Editor,propsalways refers to Priority itself.- It checks that value against
"1"and"0"and returns a style object matching each case. return nullat the end means "no match, leave the default styling alone." The!propsguard at the top just prevents an error if props hasn't loaded yet.
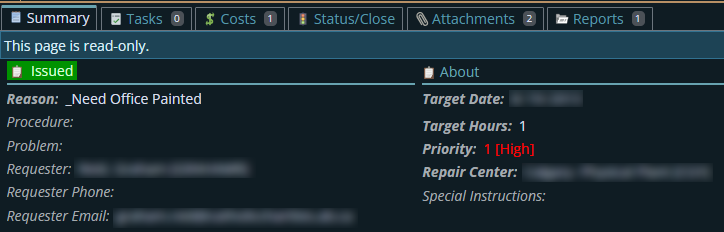
At Priority 1
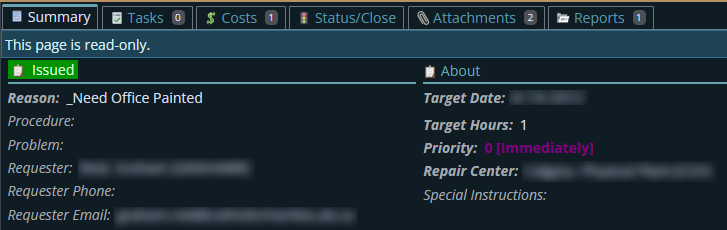
At Priority 0
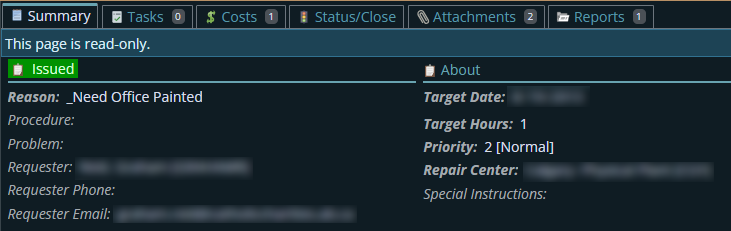
At other priorities
b) Style Priority based on Category's value (e.g., orange + bold for specific category codes, everything else gets green):
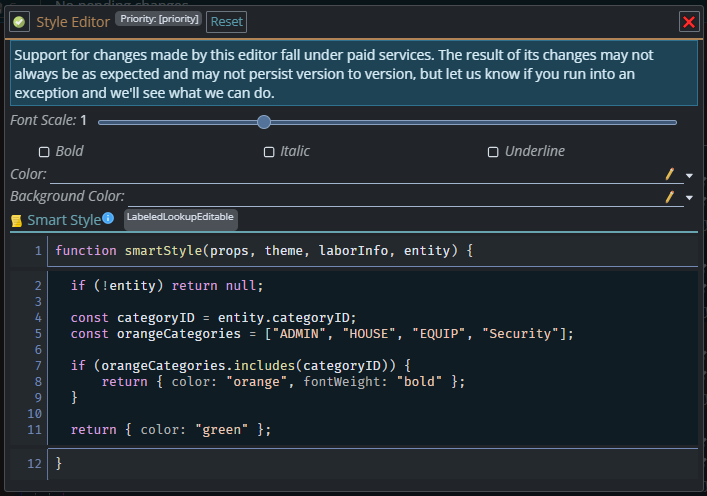
if (!entity) return null;

const categoryID = entity.categoryID;
const orangeCategories = ["ADMIN", "HOUSE", "EQUIP", "SECURITY"];

if (orangeCategories.includes(categoryID)) {
    return { color: "orange", fontWeight: "bold" };
}

return { color: "green" };orangeCategoriesnow holds the list of codes that should get the orange + bold treatment:ADMIN,HOUSE,EQUIP,SECURITY.- If
categoryIDmatches one of those, it returns{ color: "orange", fontWeight: "bold" }. - Anything else falls through to the final
return { color: "green" }, which is now the catch-all for every category not in the list.
At specific category values
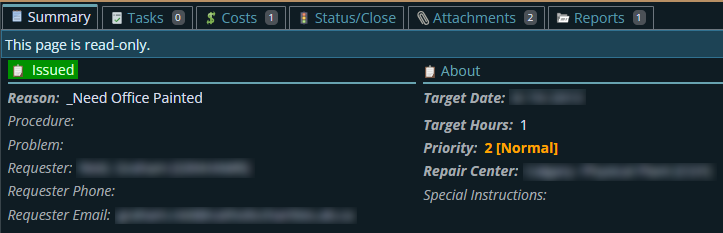

At everything else