

 Maintenance Connection Everywhere (MCe) · EAM/CMMS manuals
Purpose
This document explains how to import an existing DataHub Connector into the system, activate it using DataHub Connector Keys, and prepare it for execution.
Prerequisites
Before importing a connector, ensure the following requirements are met:
- You have an exported DataHub Connector file.
- The connector export file must be in
.kdlformat. See also 'What's a KDL'? - Your company have a proper license to activate the connector.
- You have permission for your user to access:
- DataHub module
- Configuration - Access Manager - DataHub Connector Keys (will be used to activate the connector)
- If automating, you'll need an MCe Admin1C/MRO license or equivalent to be able to build an Events and Actions item
Importing a DataHub Connector
Step 1: Open the DataHub Module
1. Navigate to the DataHub module.
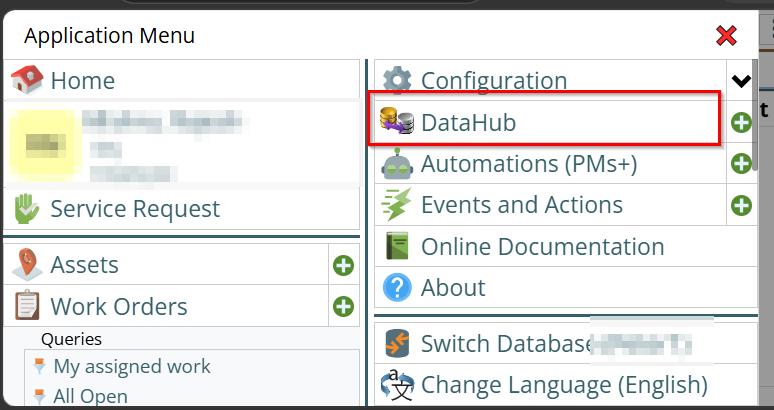
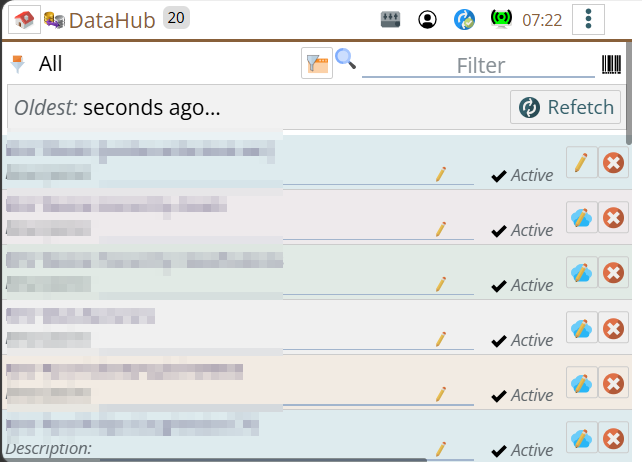
2. It will open the connector list page.
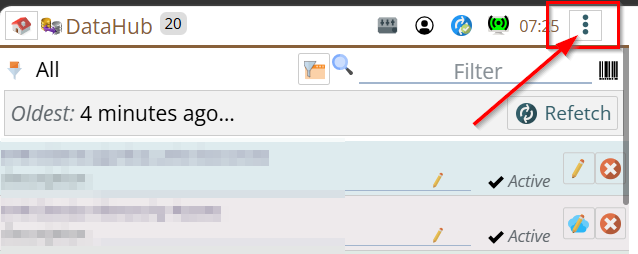
3. Click on the three-dot menu from the connector list panel.
4. Click Import.
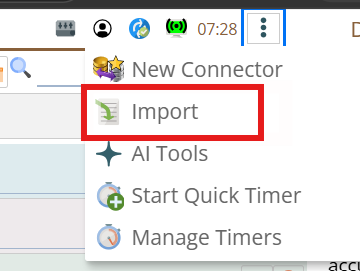
The Import Connector dialog will open.
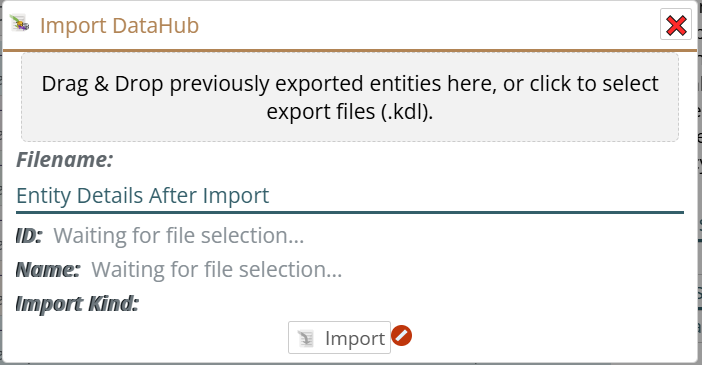
Step 2: Upload the Connector File
The import dialog allows the connector file to be uploaded by:
- Clicking the upload area and selecting a file manually
- Dragging and dropping the file into the upload area
Select the exported .kdl file.
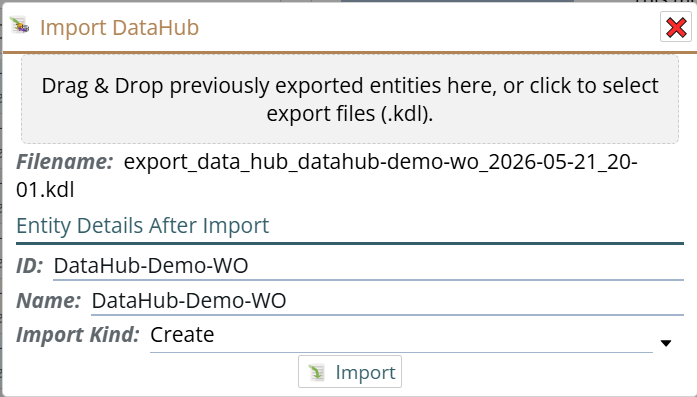
After the file is loaded:
- ID is automatically populated from the imported connector, you may want to change it.
- Name is automatically populated from the imported connector, you may want to change it.
- Import Kind is automatically set to Create
Step 3: Select Import Type
The Import Kind field determines how the connector will be imported.
Available options are:
Create
Creates a new connector using the imported configuration.
This is selected automatically when importing a connector that does not already exist.
Update
If the connector already exists, importing the same connector changes Import Kind automatically to Update. The ID and Name field will be disabled.
This updates the existing connector configuration.
Create As New
Use this option when a new connector should be created from an existing export.
When using Create As New:
- Provide a new connector ID
- Provide a new connector Name
- The ID must be unique and should not exists.
Step 4: Complete the Import
Click on Import button to finish the import process to create the connector.
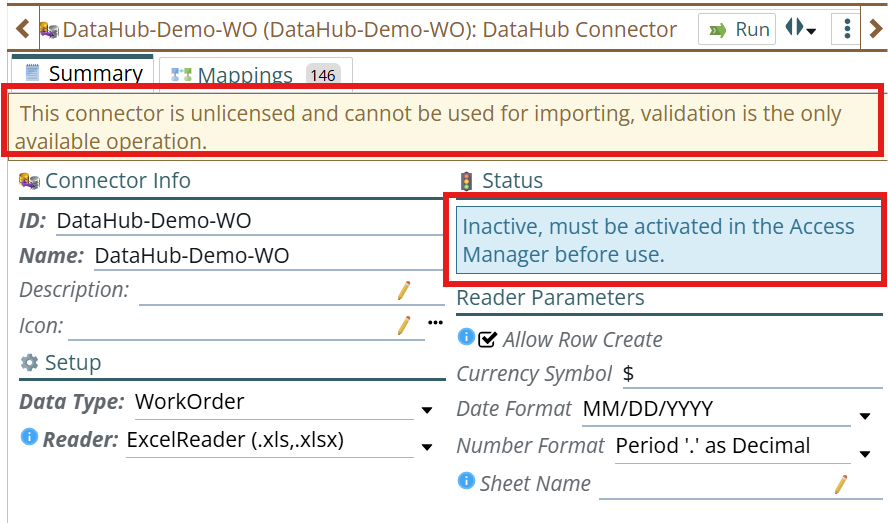
After import, open the connector edit page.
The following warning message may be displayed:
"This connector is unlicensed and cannot be used for importing, validation is the only available operation."
This means:
- The connector has been imported successfully
- The connector is currently inactive
- Import operations cannot run until licensing is applied
- However, as mentioned in the message Validation can be performed on data without activating the license.
Activate the Connector
Running the Connector
After activation, the connector can be executed manually.
Manual execution steps are documented separately in:
How to Run a DataHub Connector Import(A link will be Added document reference link when available.)
Automate execution can be done by setting up Event & Action, steps are documented separately in:
How to create an E&A for a DataHub connector to run it
(A link will be Added document reference link when available.)
Additional Notes
- Only
.kdlfiles are supported for connector import. - Validation can be performed before activation.
- Import execution is disabled until licensing is applied.
- Connector activation consumes DataHub tokens.